How to create and manage tables in Confluence Cloud
Share on socials
How to create and manage tables in Confluence Cloud

Simon Kirrane
26th March, 2024

Simon Kirrane
26th March, 2024
Jump to Section
Jump to section
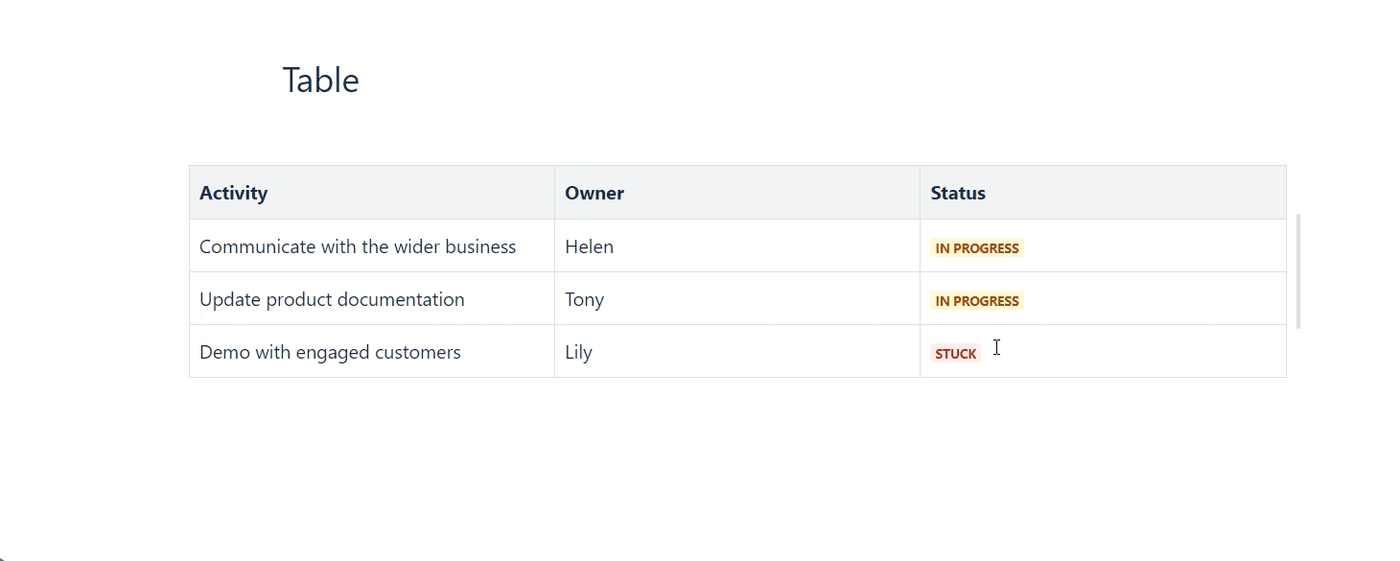
How to create a table in Confluence
How to customise Confluence tables
How to copy and delete whole tables
The table is a classic way of sorting information for a reason. Here’s how to create and edit your own Confluence tables.
When you want to present information in an organised format that allows for comparison and filtering, a table is a classic way of doing just that. Fortunately, Confluence has a simple tool for you to make and customise your very own table.
For another way to add structure to your page, read our guide to adding numbered headings to Confluence.
For another way to add structure to your page, read our guide to adding numbered headings to Confluence.
How to create a table in Confluence
1. Go to the Confluence page you’d like to add a table to.
2. Click the Table icon in the toolbar. It looks like a square split into four sections.

This will bring up a default 3x3 table, with the top row being a header row.
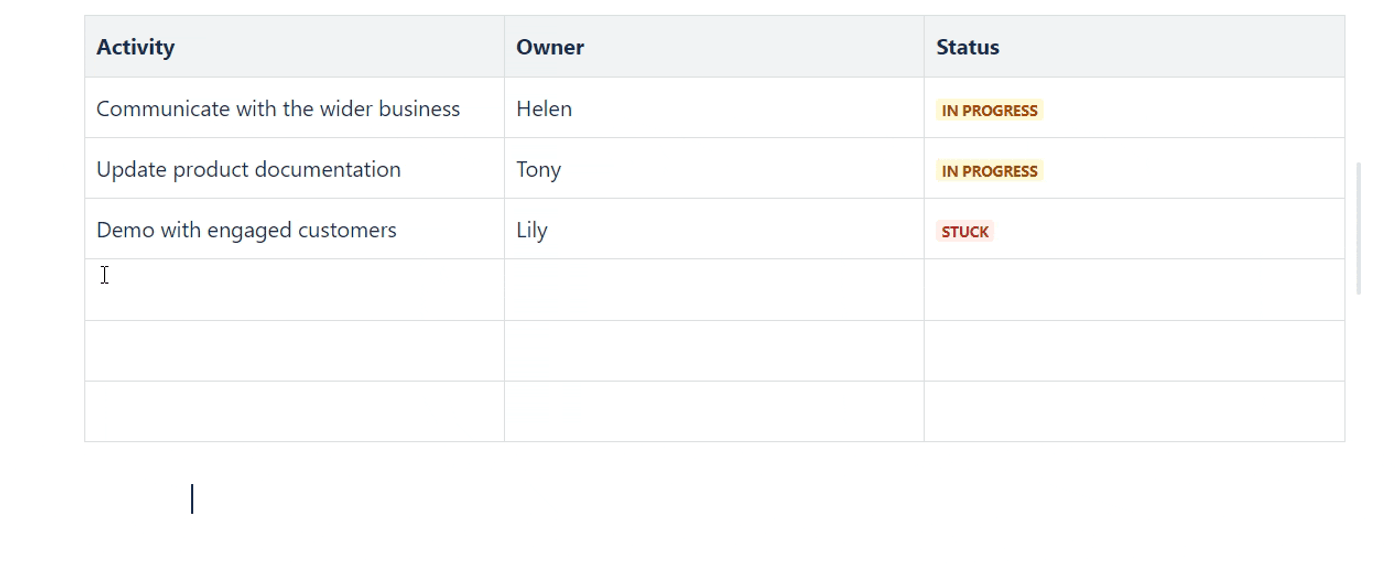
3. To insert or delete a row or column, click on one of the cells in the table. Click cell options, followed by the action you want to do. E.g. insert row below.
Alternatively, you can quickly insert rows by hovering over the grey circle beside the row you’d like to insert rows below, and clicking on the Insert rows below (+) as many times as needed.
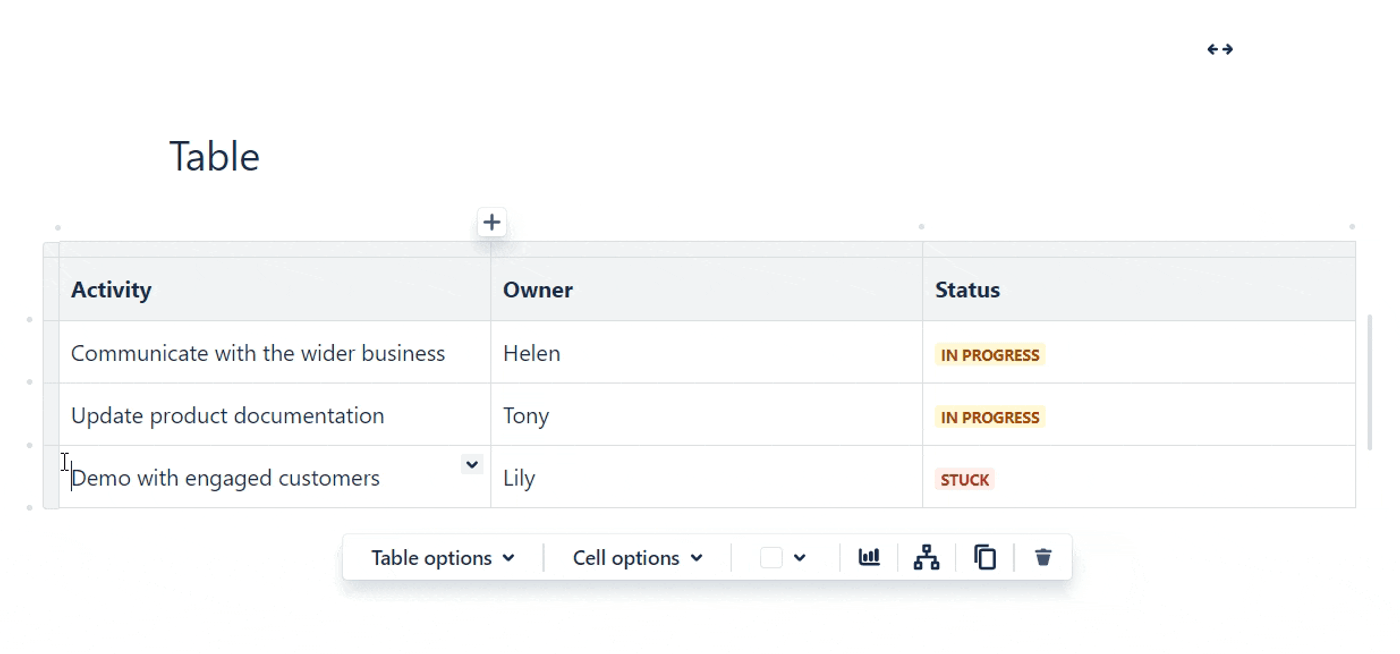
Similarly, insert new columns quickly by hovering over the grey circle above the column you’d like to add a new column beside. Click the Insert column right (+) button to add a new column to the right of the existing column.
4. Delete multiple rows or columns in one go by right clicking on a cell and dragging your cursor up or along to highlight as many rows or columns as you want to delete. Once they are highlighted in blue, click Cell options, then Delete rows/Delete columns.
5. Customise your table to suit your needs (read on below).
6. Click Publish in the upper right of the page to send your table out into the world.
How to customise Confluence tables
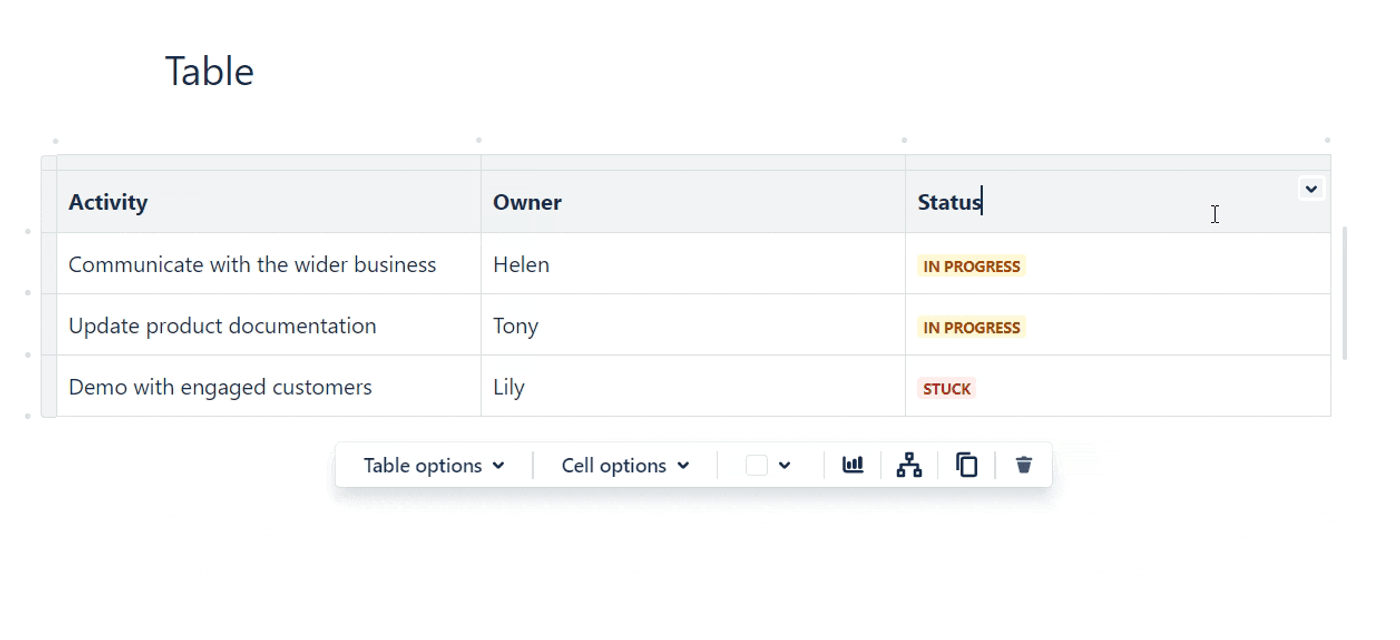
1. Use Table options to:
- Add an extra header row or a header column
- Add numbers to a column
2. Change the background colour of a cell by clicking in it, then choosing a colour from the Cell background colour picker below the table.
3. Use the toolbar above the table to change text colour, or make it bold or italicised. Or, change the text alignment to neaten up your table.
4. Resize your table by clicking the Resize table line to the right of the table (it’ll turn blue when you hover over it), and dragging it to alter the width.
How to copy and delete whole tables
If you want to copy a table, click anywhere in the table. Then, click the Copy icon from the toolbar below the table. Your table is now ready to be pasted elsewhere.
Or if you want to delete a table, follow the same steps but click the Remove (bin) icon from the toolbar below the table.
Now you know how to create Confluence tables, it’s up to you to decide how to use them!
Enhance the structure and readability of your Confluence pages
Content Formatting Macros is the ultimate toolkit for making your pages easier to read and navigate. Get started today with a 30-day free trial.
Related Content
Read more
Written by
Simon Kirrane
Senior Content Marketing Manager
With a 20-year career in content marketing, Simon has represented a range of international brands. His current specialism is the future of work and work management. Simon is skilled at launching content pipelines, establishing powerful brands, and crafting innovative content strategies.
LinkedIn →
LinkedIn →
Confluence
Content Formatting
Related Content
Read more